
Description
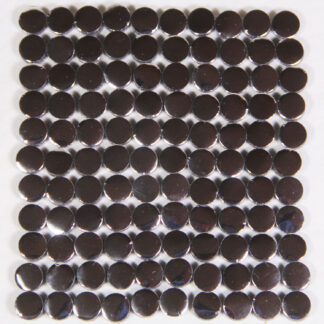
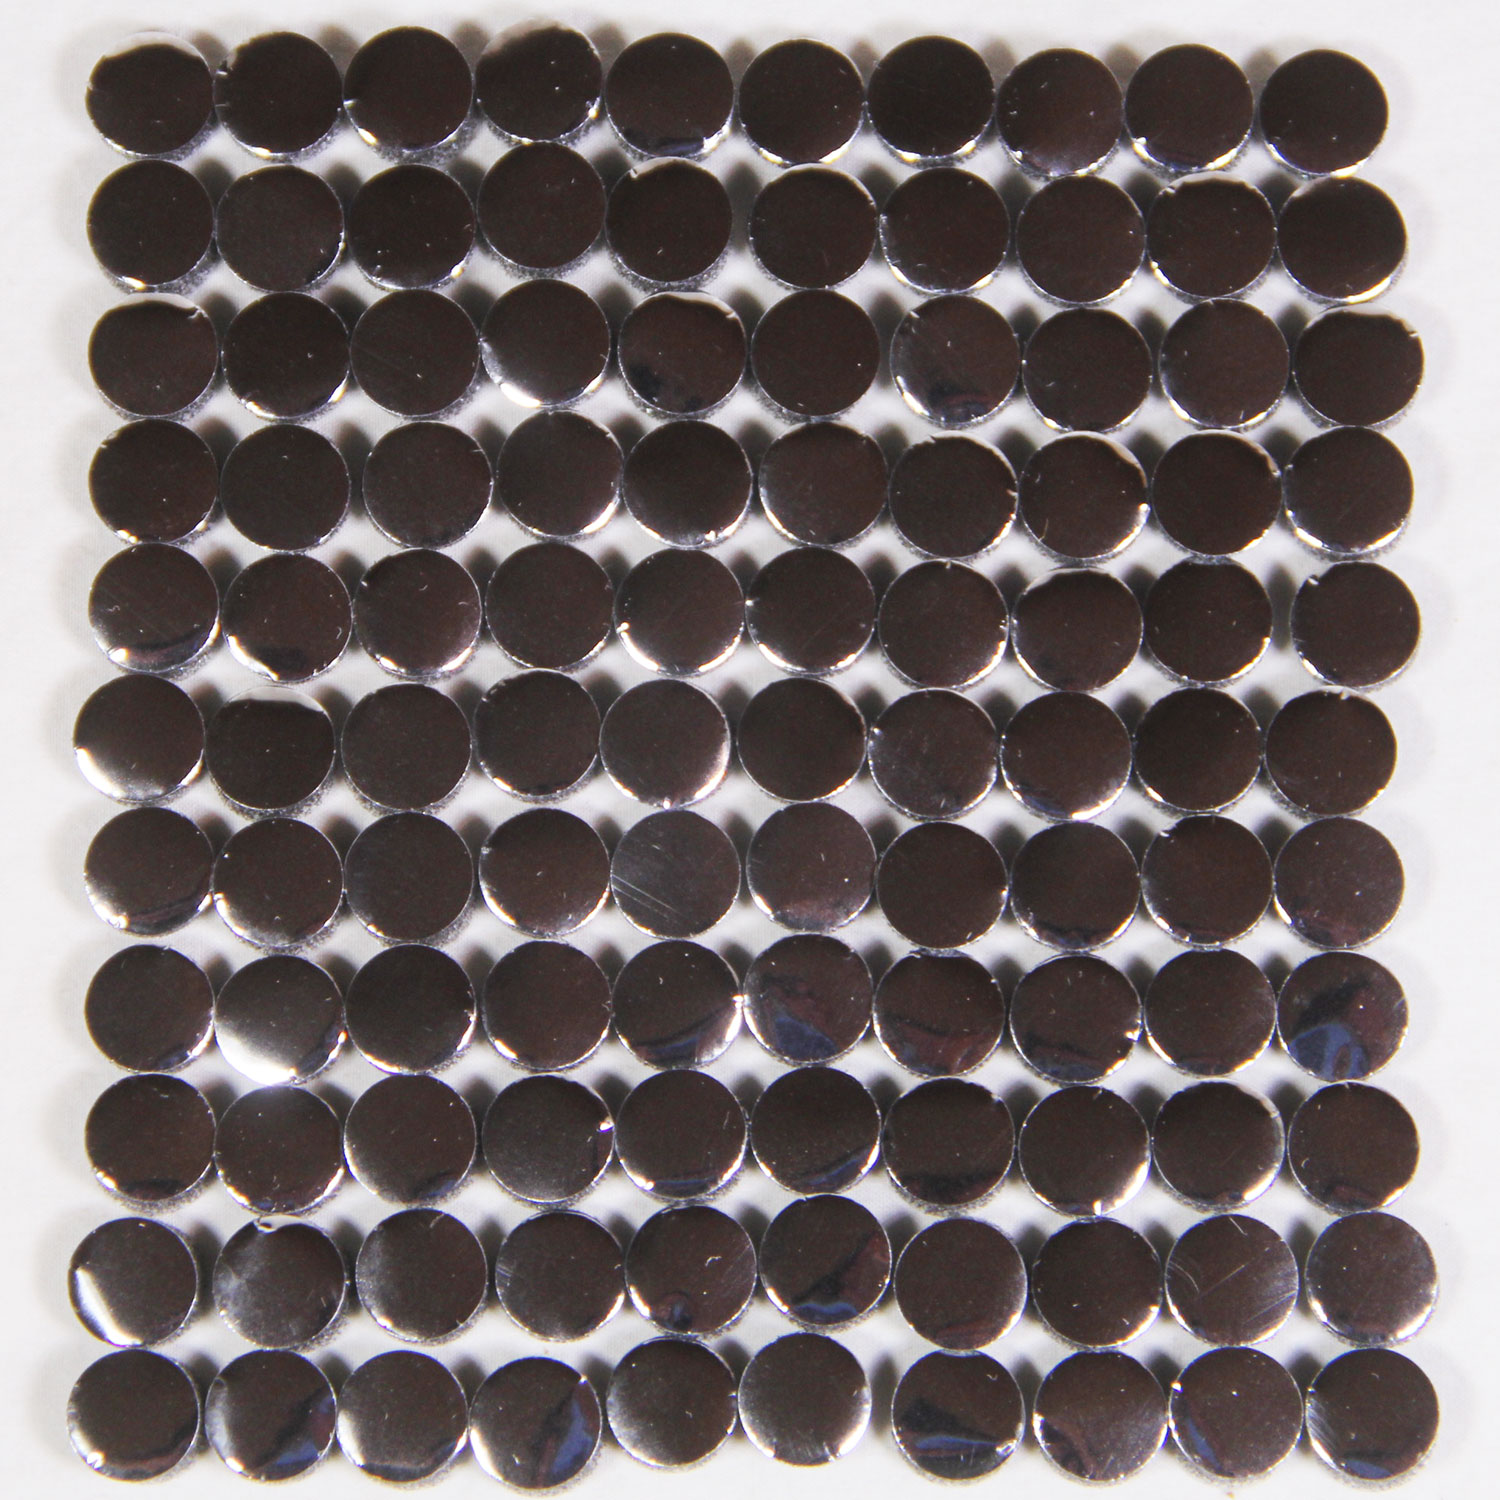
This is a set of 110 count foam capacitive pads for repairing vintage capacitive keyboards with deteriorating foam pads. We make these in house starting with the material all the way to punching them. These will work on keyboards for many different kinds of machines ranging from KeyTronic, BTC, Epson, Alphameric and possibly more as well as some typewriters and other test equipment. If it has foam and foil pads inside we may be able help! Even if you have only a few keys not functioning it’s likely the rest will start to go soon. It’s just a matter of time before that foam starts falling apart. I highly recommend replacing them all while you have your keyboard apart so you can get many more years of use with no worries.
We are now offering a variety of pads. Over the years customers have come to us with different needs, we are trying to fulfill as many of those needs as possible. At the moment all of our pads are 7/16″ (11mm) in diameter. However, we do offer two different installation/backing options and foam heights, these are detailed below.
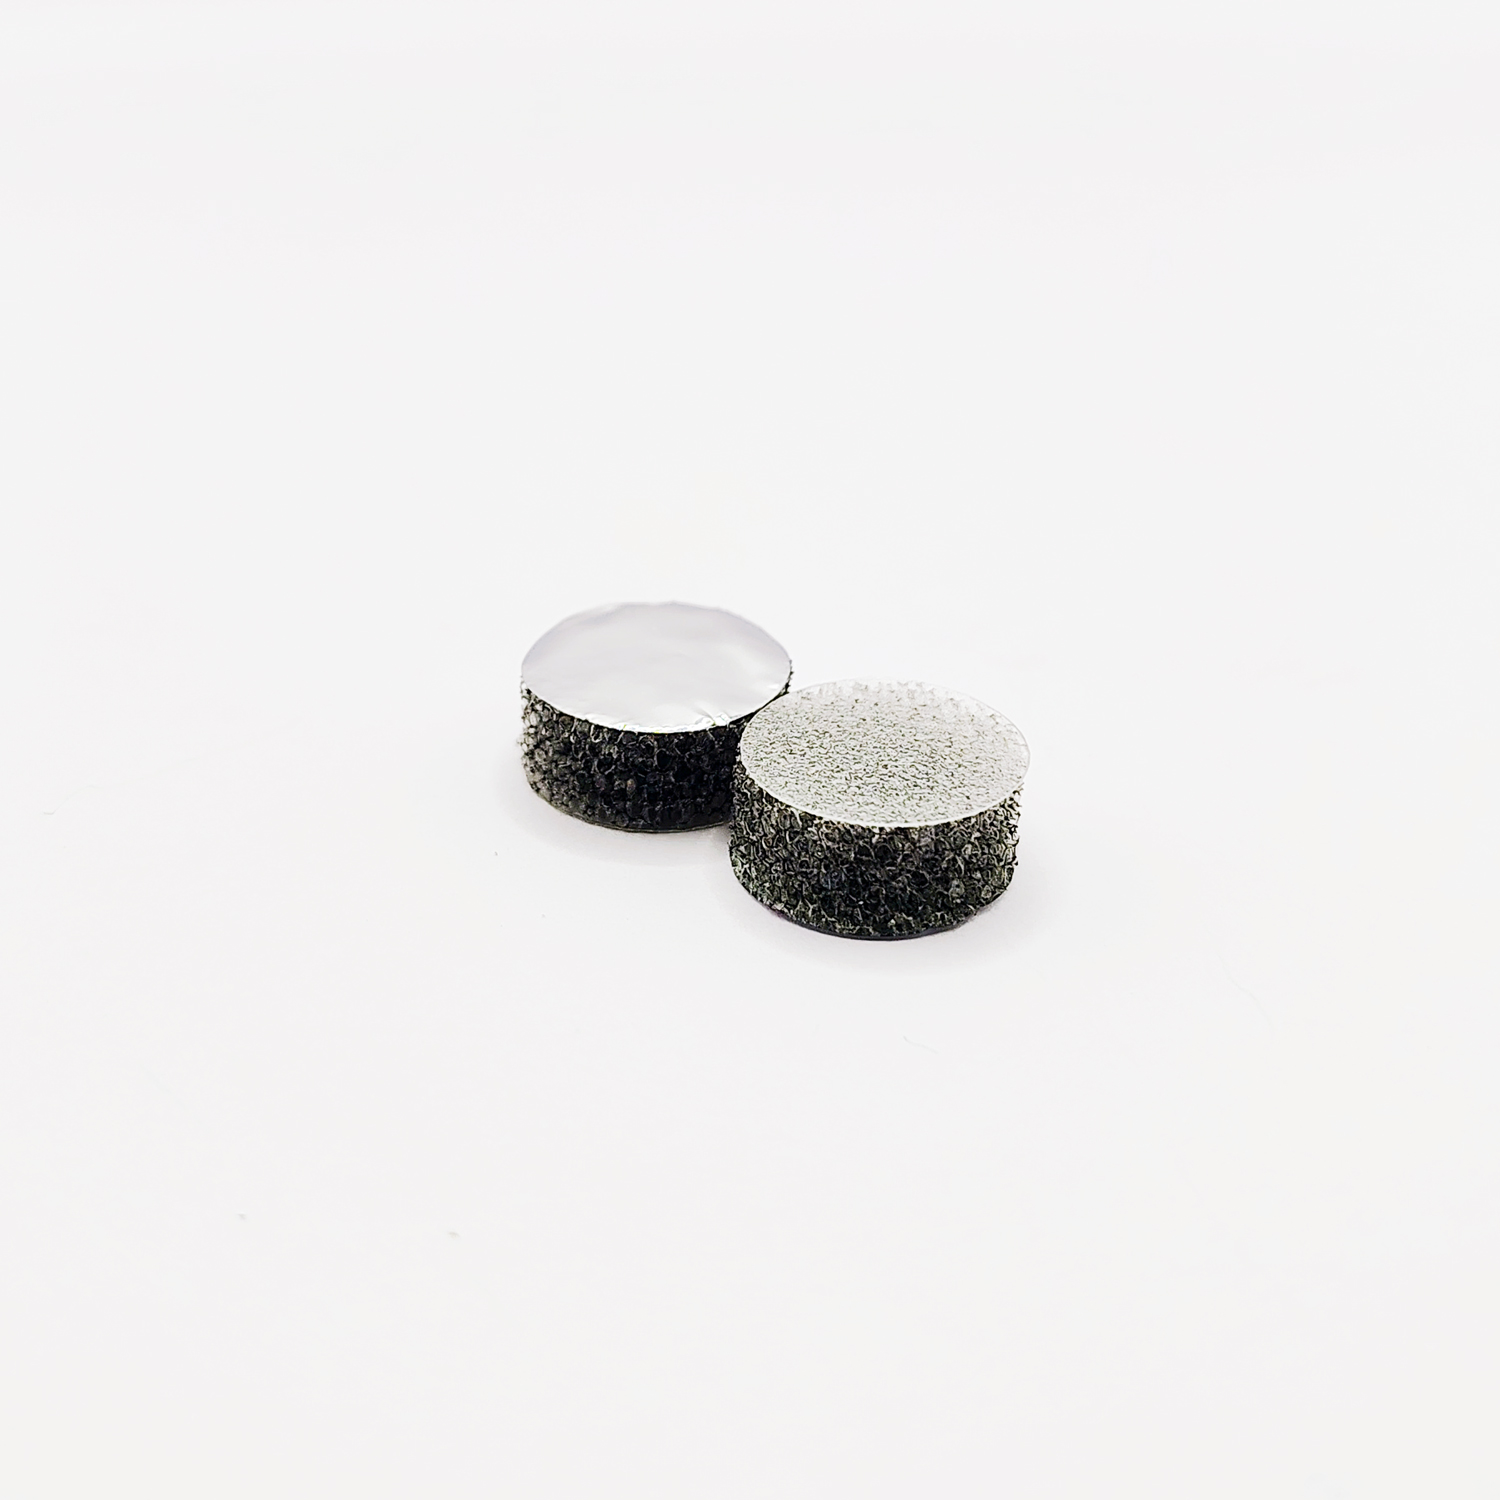
Snap-In Pads:
These come with a clear plastic disc on the back. They are installed by using a pick tool to snap the plastic under clips found in the key housing of your keyboard.
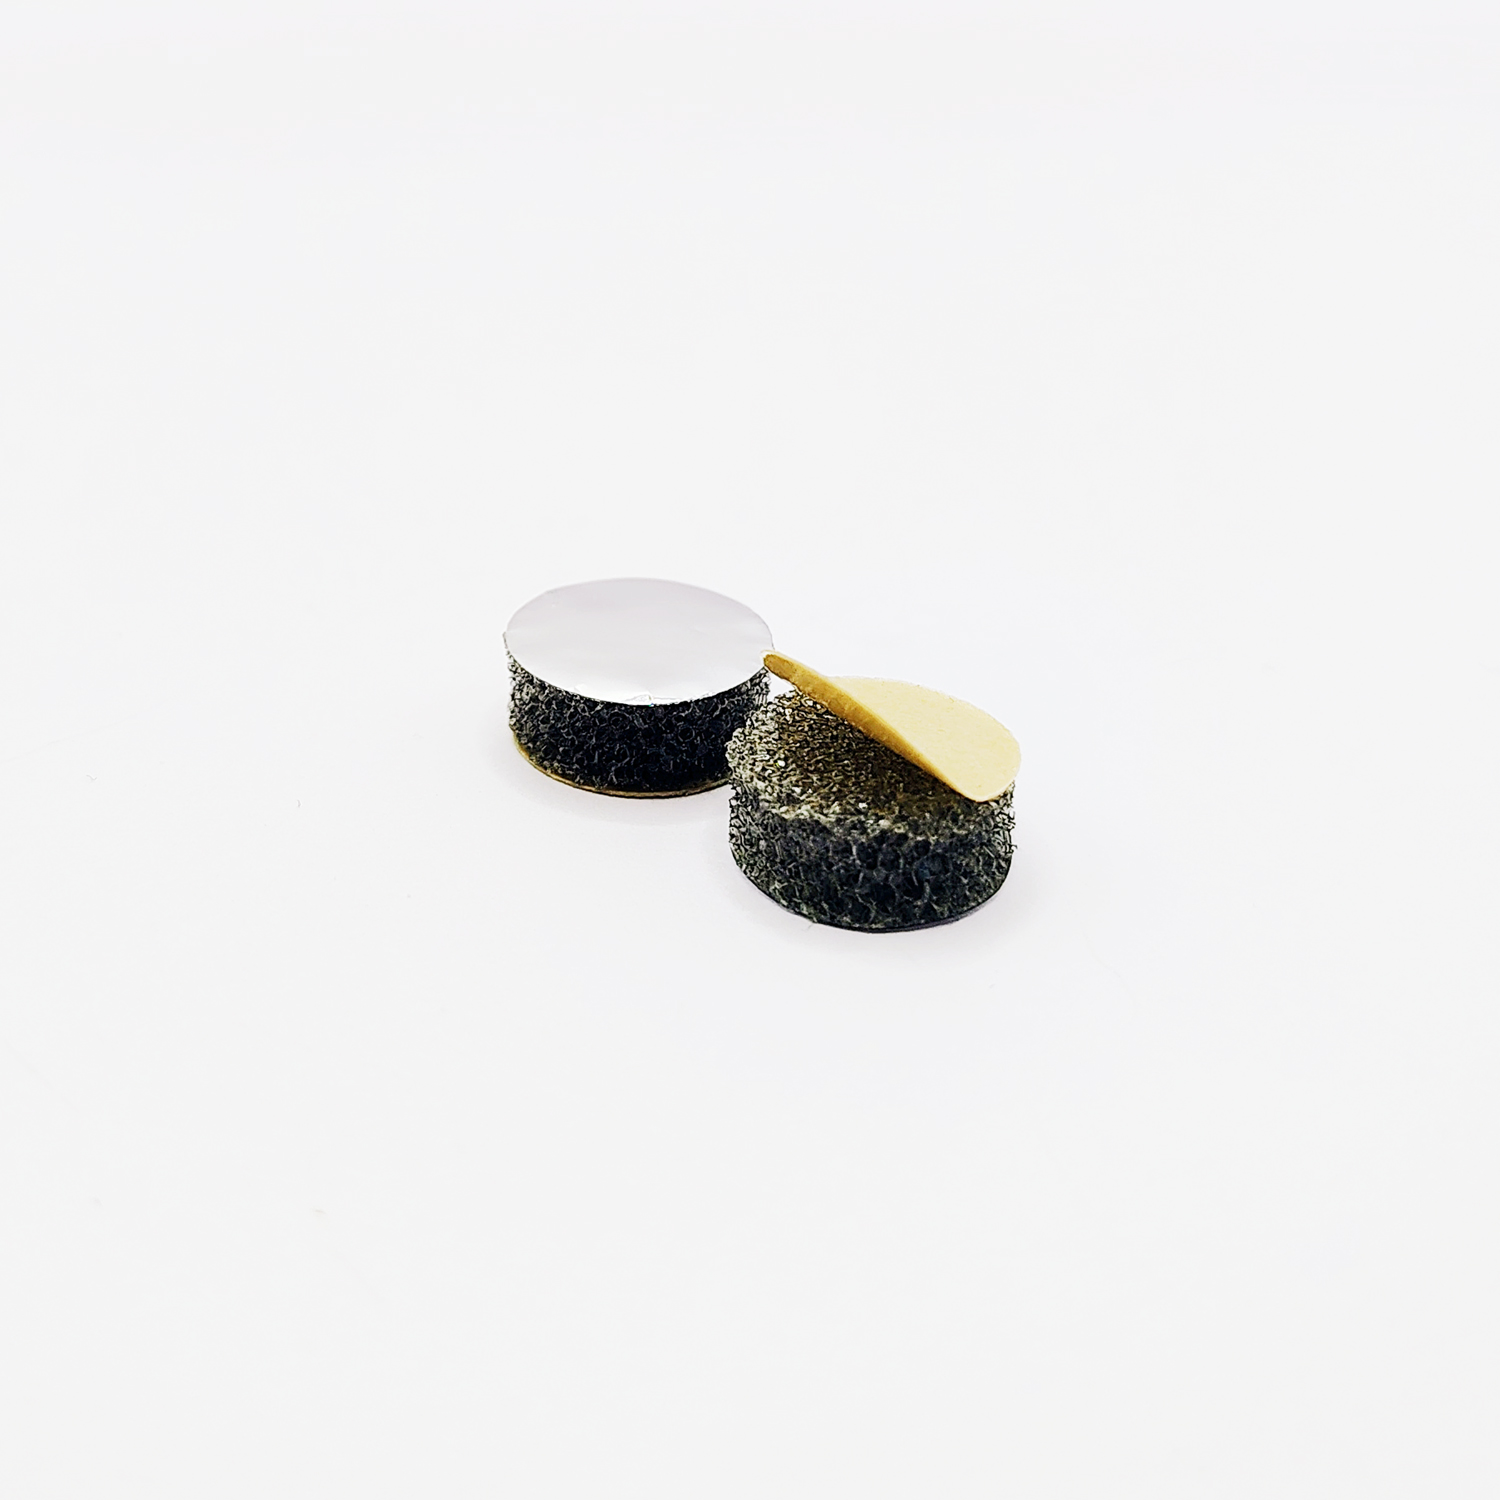
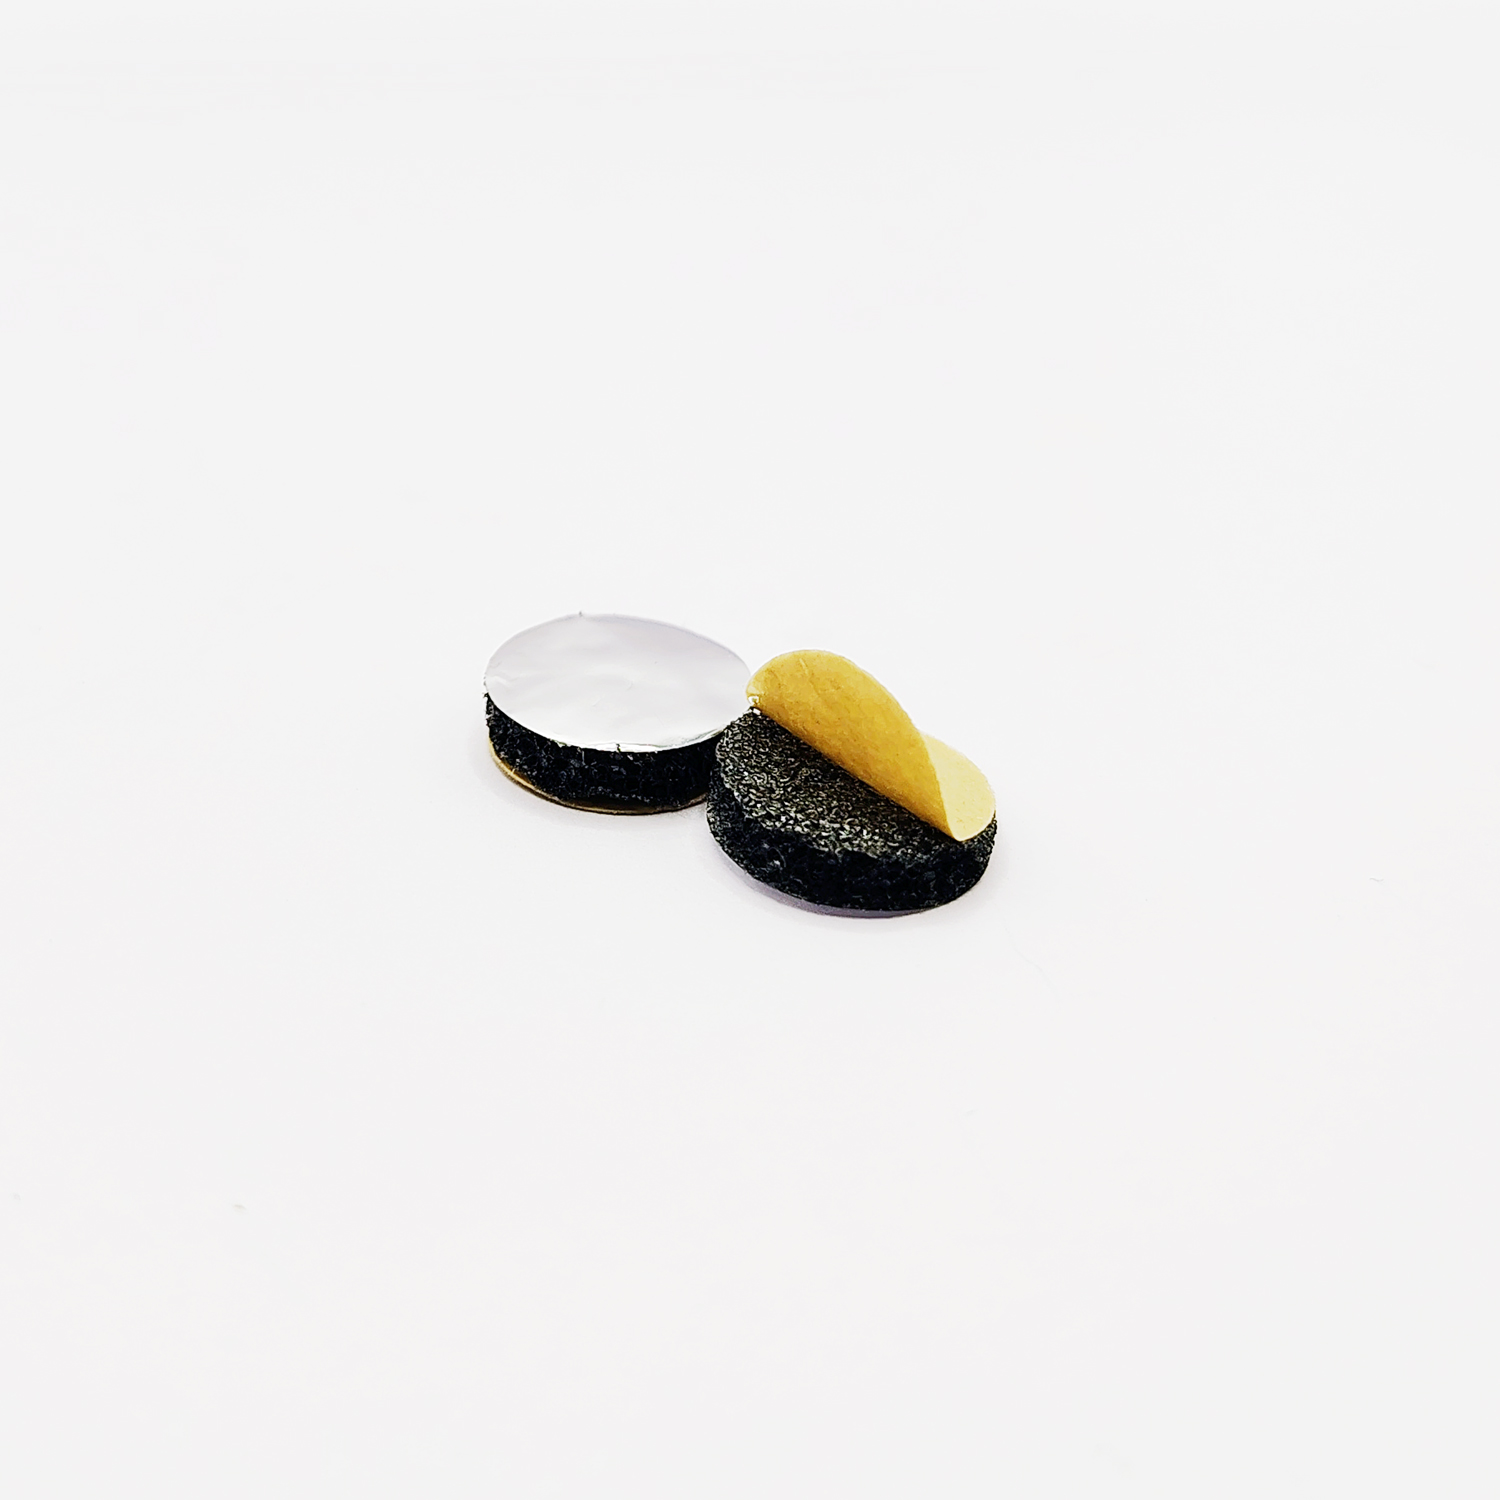
Peel & Stick Pads:
These come with adhesive on the back that is protected by a paper backing. They are installed by removing the paper backing and pressing the pad into the key housing of your keyboard.
Compatibility Lists
Below are machines that have been repaired successfully using our pads by pad type. If you have a machine that is not on our compatibility list but should be, please contact us so we can add your machine!
3/16″ Tall Foam Snap-In Pads:
ABC 80 (Advanced BASIC Computer 80), Acorn Archimedes Axxx, Apple Lisa, ACT Apricot PC/XI, AVL Eagle K69, BTC5339sx, Columbia Data Products 1600 VP (BTC Keyboard), Compaq Deskpro 286 AT keyboard, Compaq Enhanced Keyboard, Compaq Portable, Compaq Portable II, Compaq Portable Plus, Corona (Cordata) PPC-400, Curvus Concept, Dasher D2, Datapoint (all late models 1800, 8600, 8200, etc.), Eagle 105 Enhanced Keyboard (used on Eagle 1600 and Eagle PC machines), Franklin Ace 1000/1100/1200, FutureData/GenRad 2300 Advanced Development System (ADS) console, Hyperion, Kaypro II, Key Tronic Model F clone series, KeyTronic Trak101 (trackball part number is NSI KB34-1542), Macintosh XL, Miniterm 1203, Mostek SYS-80FT, NorthStar Advantage, Sirius 1, Sol-20, Sperry Univac UTS40, SUN Type 4, Tandberg Data TDV 2115C, Tandy TRS-80, Tektronix, Vector Graphics 4. Victor 9000, Visual 55, Visual Technology 1050, Wang Professional.
3/16″ Tall Foam Peel & Stick:
Alphameric Ltd keyboard, ADDS Regis 25 Terminal, Dasher D1, Dasher 200, Sol-20 (without retaining clips), Zerox Memory typewriter
1/8″ Tall Foam Snap-In Pads:
NONE YET
1/8″ Tall Foam Peel & Stick Pads:
Epson QX-10 & QX-16 keyboard (Q603A)
Pad Removal and Installation Tips
Snap-In Pads:
Below is a quick video demonstrating the removal and replacement of one Plastic Disc Pad in a keyboard. In the video I failed to mention that it is easiest to have the key pressed (well raised in this case as you are looking at the back of the keyboard) when changing the pad. In the video I have it propped up on a pen so that the key is raised. This makes it easier to get the pick tool in the groves and around the pads.
You may notice that I am using white foam pads, these are an old revision, rest assured the installation remains the same:
Peel & Stick Pads:
We don’t own a keyboard of this type, however I have received some feedback from customers who have. The old pads may leave quite the mess so be sure to remove any left over adhesive and clear the surface of all debris. The adhesive needs a clean surface to stick. Removing the pad from the backing is easier than removing the backing from the pad, I think that makes sense. I have nails so they come in handy for this sort of finicky work, others use razor blade/exacto knives or maybe a dental pick/pick tool. If you have any tips to add, please let me know.
Once you have completed installation you will likely want to perform a test prior to reassembling the keyboard. When you do this test, be sure to put all the screws back in the board, not just a few of them. You don’t need to put the shell back on, but it is best to have all screws in the board or all the pads may not make contact properly during your test. Be sure to clear the surfaces of all debris (such as the deteriorating pads debris) before installing the new pads. Too much debris left on the PCB or the foil side of the pad will inhibit the proper function of the key.
If you have any questions please don’t hesitate to contact us and we will answer as soon as possible.
Here are some other videos to help you with pad installation.
The 8-Bit Guy restored his Compaq using these very pads, take a look:
Here is a video from one of our customers installing our pads in his Apple Lisa. He uses a what I think is a pottery spatula that makes these even easier to install: